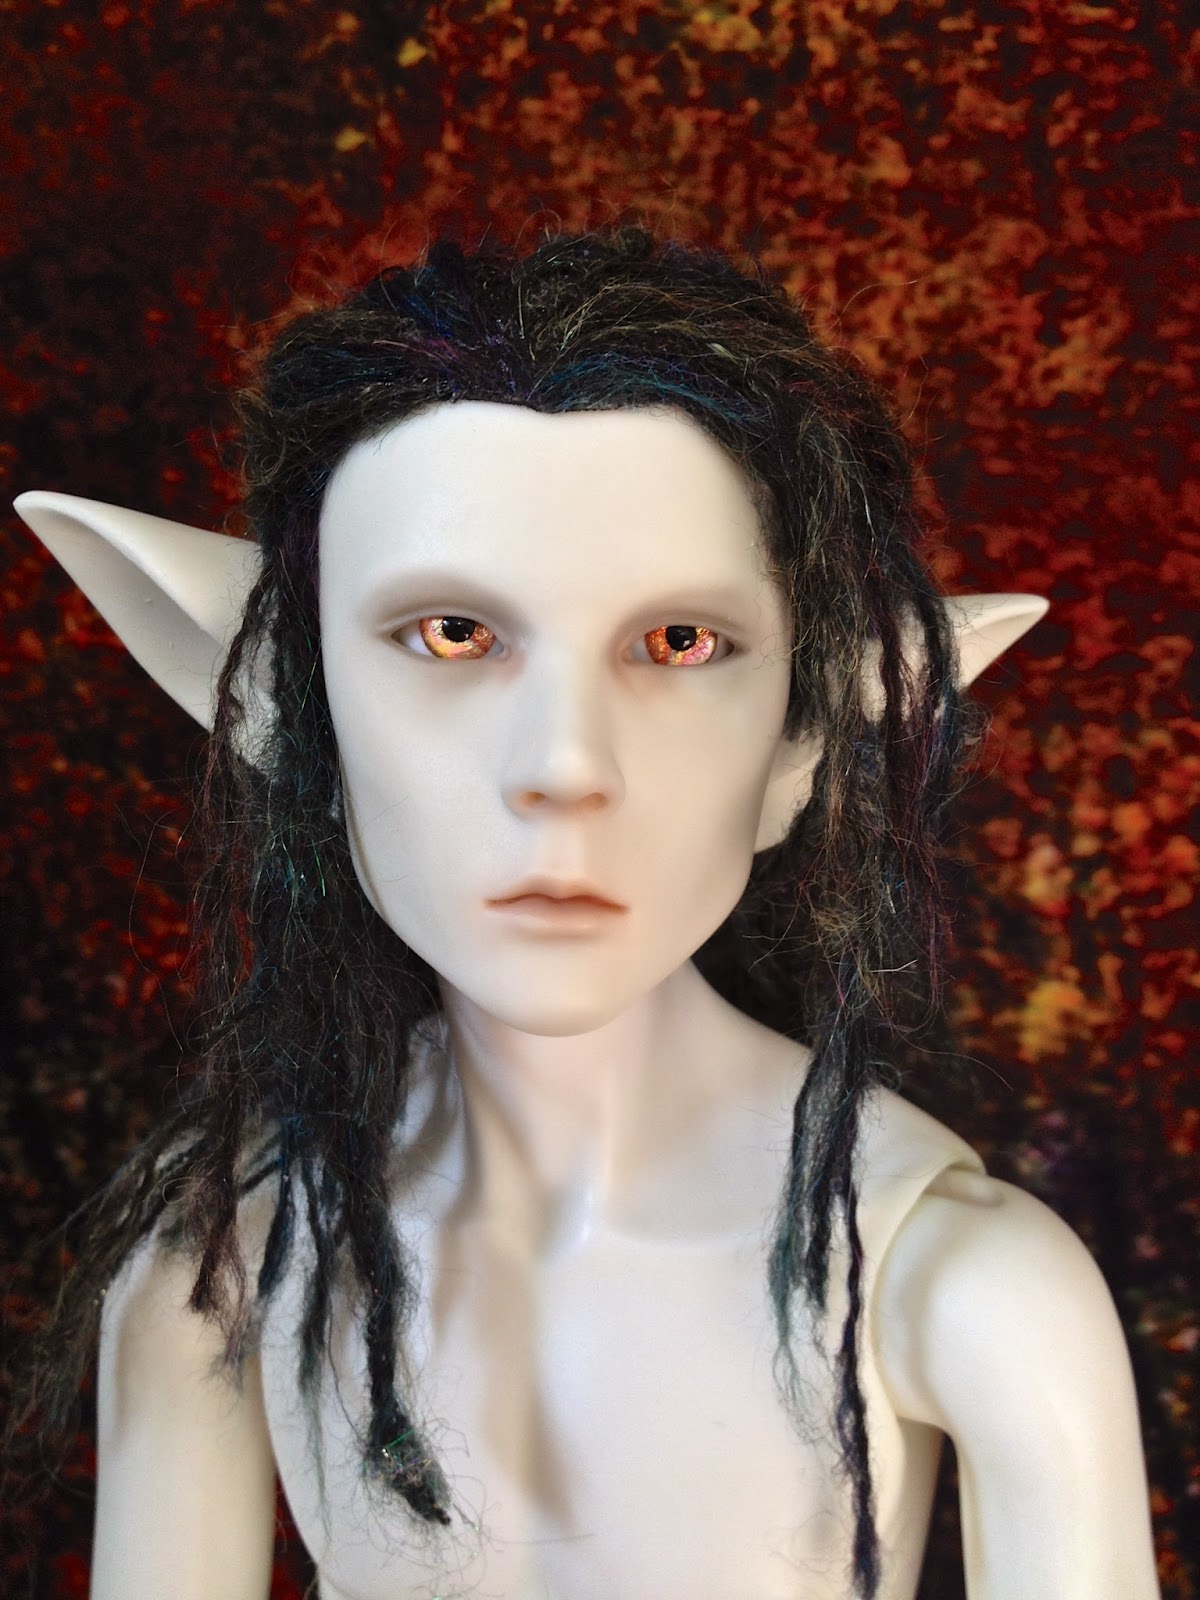
(good grief it's been ages.)
How To Fix A Dinged Nose
1. remove eyes, store safely somewhere, don't need those falling out.
2.
Cover faceup and head with plastic wrap, ripping the smallest possible
jagged hole to expose where the nose damage is. Do this with about three
layers of the stuff, the idea is to get a jagged edged hole around the
damage.
3. Put on oven mitt. Put the kettle
on. As the steam whooshes out when the kettle boils, poke the injured
nose into the steam at least two or three inches from the spout. Hold it
there for five seconds, remove to check to see if resin has popped back
to shape, repeat as needed or until you're not getting any more result.
That's the dings and dents solved. As for the blushing of the nose.
PART two!
1.
Remove plastic wrap. Replace with a paper towel, and again tear to
expose the nose. This masks off the rest of the face but leaves a soft
edge around the nose.
2. Get a melamine
sponge, of the mister clean or other type brand. Now what you do with
that is DO NOT wet it, but using it dry, treat it like it's a sanding
block and gently sand away the damaged blushing, going lighter at the
edges of the damaged area. This prevents any sharp edges between blushed
and non blushed areas. You'll see as you go that you can "erase" the
color in the damaged spot and create a soft airbrushy edge or fading of
color from that spot, if that makes sense.
3. Wearing proper respiration protection and under proper conditions,
this is when you hit the almost-totally-covered face with a puff of
sealant. Our ragged hole paper towel masking technique is what lets this
work.
4. Mix a color match for the
other blushing visible around the nose, as carefully as you can, using
quality pastels. Then blush back the color onto the now sealed nose with
a very fine soft brush. Using the best brush you can really makes a
difference here for layering on very tiny amounts of color at a time so
as to get a smooth match.
5. Seal again, remove the paper towel, admire the flawless repair, and never trust a dolly not to nosedive.
How To Fix A Dinged Nose
1. remove eyes, store safely somewhere, don't need those falling out.
2.
Cover faceup and head with plastic wrap, ripping the smallest possible
jagged hole to expose where the nose damage is. Do this with about three
layers of the stuff, the idea is to get a jagged edged hole around the
damage.
3. Put on oven mitt. Put the kettle
on. As the steam whooshes out when the kettle boils, poke the injured
nose into the steam at least two or three inches from the spout. Hold it
there for five seconds, remove to check to see if resin has popped back
to shape, repeat as needed or until you're not getting any more result.
That's the dings and dents solved. As for the blushing of the nose.
PART two!
1.
Remove plastic wrap. Replace with a paper towel, and again tear to
expose the nose. This masks off the rest of the face but leaves a soft
edge around the nose.
2. Get a melamine
sponge, of the mister clean or other type brand. Now what you do with
that is DO NOT wet it, but using it dry, treat it like it's a sanding
block and gently sand away the damaged blushing, going lighter at the
edges of the damaged area. This prevents any sharp edges between blushed
and non blushed areas. You'll see as you go that you can "erase" the
color in the damaged spot and create a soft airbrushy edge or fading of
color from that spot, if that makes sense.
3. Wearing proper respiration protection and under proper conditions,
this is when you hit the almost-totally-covered face with a puff of
sealant. Our ragged hole paper towel masking technique is what lets this
work.
4. Mix a color match for the
other blushing visible around the nose, as carefully as you can, using
quality pastels. Then blush back the color onto the now sealed nose with
a very fine soft brush. Using the best brush you can really makes a
difference here for layering on very tiny amounts of color at a time so
as to get a smooth match.
5. Seal again, remove the paper towel, admire the flawless repair, and never trust a dolly not to nosedive.
How To Fix A Dented Dolly Nose
1. remove eyes, store safely somewhere, don't need those falling out.
2. Cover faceup and head with plastic wrap, ripping the smallest
possible jagged hole to expose where the nose damage is. Do this with
about three layers of the stuff, the idea is to get a jagged edged hole
around the damage.
3. Put on oven mitt. Put the kettle on. As the steam whooshes out when
the kettle boils, poke the injured nose into the steam at least two or
three inches from the spout. Hold it there for five seconds, remove to
check to see if resin has popped back to shape, repeat as needed or
until you're not getting any more result.
That's the dings and dents solved. As for the blushing of the nose.
PART two! This can be used to spot-fix any part of a faceup. It's not always guaranteed to work, and depends on your skill as well as dumb luck, YMMV but it's always worth a shot.
1. Remove plastic wrap. Replace with a paper towel, and again tear to
expose the nose. This masks off the rest of the face but leaves a soft
edge around the nose.
2. Get a melamine sponge, of the mister clean or other type brand. Now
what you do with that is DO NOT wet it, but using it dry, treat it like
it's a sanding block and gently sand away the damaged blushing, going
lighter at the edges of the damaged area. This prevents any sharp edges
between blushed and non blushed areas. You'll see as you go that you can
"erase" the color in the damaged spot and create a soft airbrushy edge
or fading of color from that spot, if that makes sense.
3. Wearing proper respiration protection and under proper conditions,
this is when you hit the almost-totally-covered face with a puff of
sealant. Our ragged hole paper towel masking technique is what lets this
work.
4. Mix a color match for the other blushing visible around the nose, as
carefully as you can, using quality pastels. Then blush back the color
onto the now sealed nose with a very fine soft brush. Using the best
brush you can really makes a difference here for layering on very tiny
amounts of color at a time so as to get a smooth match.
5. Seal again, remove the paper towel, stick the eyes back in now,
admire the flawless repair, and never trust a dolly not to nosedive.
How To Fix A Dinged Nose
1. remove eyes, store safely somewhere, don't need those falling out.
2.
Cover faceup and head with plastic wrap, ripping the smallest possible
jagged hole to expose where the nose damage is. Do this with about three
layers of the stuff, the idea is to get a jagged edged hole around the
damage.
3. Put on oven mitt. Put the kettle
on. As the steam whooshes out when the kettle boils, poke the injured
nose into the steam at least two or three inches from the spout. Hold it
there for five seconds, remove to check to see if resin has popped back
to shape, repeat as needed or until you're not getting any more result.
That's the dings and dents solved. As for the blushing of the nose.
PART two!
1.
Remove plastic wrap. Replace with a paper towel, and again tear to
expose the nose. This masks off the rest of the face but leaves a soft
edge around the nose.
2. Get a melamine
sponge, of the mister clean or other type brand. Now what you do with
that is DO NOT wet it, but using it dry, treat it like it's a sanding
block and gently sand away the damaged blushing, going lighter at the
edges of the damaged area. This prevents any sharp edges between blushed
and non blushed areas. You'll see as you go that you can "erase" the
color in the damaged spot and create a soft airbrushy edge or fading of
color from that spot, if that makes sense.
3. Wearing proper respiration protection and under proper conditions,
this is when you hit the almost-totally-covered face with a puff of
sealant. Our ragged hole paper towel masking technique is what lets this
work.
4. Mix a color match for the
other blushing visible around the nose, as carefully as you can, using
quality pastels. Then blush back the color onto the now sealed nose with
a very fine soft brush. Using the best brush you can really makes a
difference here for layering on very tiny amounts of color at a time so
as to get a smooth match.
5. Seal again, remove the paper towel, admire the flawless repair, and never trust a dolly not to nosedive.
How To Fix A Dinged Nose
1. remove eyes, store safely somewhere, don't need those falling out.
2.
Cover faceup and head with plastic wrap, ripping the smallest possible
jagged hole to expose where the nose damage is. Do this with about three
layers of the stuff, the idea is to get a jagged edged hole around the
damage.
3. Put on oven mitt. Put the kettle
on. As the steam whooshes out when the kettle boils, poke the injured
nose into the steam at least two or three inches from the spout. Hold it
there for five seconds, remove to check to see if resin has popped back
to shape, repeat as needed or until you're not getting any more result.
That's the dings and dents solved. As for the blushing of the nose.
PART two!
1.
Remove plastic wrap. Replace with a paper towel, and again tear to
expose the nose. This masks off the rest of the face but leaves a soft
edge around the nose.
2. Get a melamine
sponge, of the mister clean or other type brand. Now what you do with
that is DO NOT wet it, but using it dry, treat it like it's a sanding
block and gently sand away the damaged blushing, going lighter at the
edges of the damaged area. This prevents any sharp edges between blushed
and non blushed areas. You'll see as you go that you can "erase" the
color in the damaged spot and create a soft airbrushy edge or fading of
color from that spot, if that makes sense.
3. Wearing proper respiration protection and under proper conditions,
this is when you hit the almost-totally-covered face with a puff of
sealant. Our ragged hole paper towel masking technique is what lets this
work.
4. Mix a color match for the
other blushing visible around the nose, as carefully as you can, using
quality pastels. Then blush back the color onto the now sealed nose with
a very fine soft brush. Using the best brush you can really makes a
difference here for layering on very tiny amounts of color at a time so
as to get a smooth match.
5. Seal again, remove the paper towel, admire the flawless repair, and never trust a dolly not to nosedive.
How To Fix A Dinged Nose
1. remove eyes, store safely somewhere, don't need those falling out.
2.
Cover faceup and head with plastic wrap, ripping the smallest possible
jagged hole to expose where the nose damage is. Do this with about three
layers of the stuff, the idea is to get a jagged edged hole around the
damage.
3. Put on oven mitt. Put the kettle
on. As the steam whooshes out when the kettle boils, poke the injured
nose into the steam at least two or three inches from the spout. Hold it
there for five seconds, remove to check to see if resin has popped back
to shape, repeat as needed or until you're not getting any more result.
That's the dings and dents solved. As for the blushing of the nose.
PART two!
1.
Remove plastic wrap. Replace with a paper towel, and again tear to
expose the nose. This masks off the rest of the face but leaves a soft
edge around the nose.
2. Get a melamine
sponge, of the mister clean or other type brand. Now what you do with
that is DO NOT wet it, but using it dry, treat it like it's a sanding
block and gently sand away the damaged blushing, going lighter at the
edges of the damaged area. This prevents any sharp edges between blushed
and non blushed areas. You'll see as you go that you can "erase" the
color in the damaged spot and create a soft airbrushy edge or fading of
color from that spot, if that makes sense.
3. Wearing proper respiration protection and under proper conditions,
this is when you hit the almost-totally-covered face with a puff of
sealant. Our ragged hole paper towel masking technique is what lets this
work.
4. Mix a color match for the
other blushing visible around the nose, as carefully as you can, using
quality pastels. Then blush back the color onto the now sealed nose with
a very fine soft brush. Using the best brush you can really makes a
difference here for layering on very tiny amounts of color at a time so
as to get a smooth match.
5. Seal again, remove the paper towel, admire the flawless repair, and never trust a dolly not to nosedive.
How To Fix A Dinged Nose
1. remove eyes, store safely somewhere, don't need those falling out.
2.
Cover faceup and head with plastic wrap, ripping the smallest possible
jagged hole to expose where the nose damage is. Do this with about three
layers of the stuff, the idea is to get a jagged edged hole around the
damage.
3. Put on oven mitt. Put the kettle
on. As the steam whooshes out when the kettle boils, poke the injured
nose into the steam at least two or three inches from the spout. Hold it
there for five seconds, remove to check to see if resin has popped back
to shape, repeat as needed or until you're not getting any more result.
That's the dings and dents solved. As for the blushing of the nose.
PART two!
1.
Remove plastic wrap. Replace with a paper towel, and again tear to
expose the nose. This masks off the rest of the face but leaves a soft
edge around the nose.
2. Get a melamine
sponge, of the mister clean or other type brand. Now what you do with
that is DO NOT wet it, but using it dry, treat it like it's a sanding
block and gently sand away the damaged blushing, going lighter at the
edges of the damaged area. This prevents any sharp edges between blushed
and non blushed areas. You'll see as you go that you can "erase" the
color in the damaged spot and create a soft airbrushy edge or fading of
color from that spot, if that makes sense.
3. Wearing proper respiration protection and under proper conditions,
this is when you hit the almost-totally-covered face with a puff of
sealant. Our ragged hole paper towel masking technique is what lets this
work.
4. Mix a color match for the
other blushing visible around the nose, as carefully as you can, using
quality pastels. Then blush back the color onto the now sealed nose with
a very fine soft brush. Using the best brush you can really makes a
difference here for layering on very tiny amounts of color at a time so
as to get a smooth match.
5. Seal again, remove the paper towel, admire the flawless repair, and never trust a dolly not to nosedive.
How To Fix A Dinged Nose
1. remove eyes, store safely somewhere, don't need those falling out.
2.
Cover faceup and head with plastic wrap, ripping the smallest possible
jagged hole to expose where the nose damage is. Do this with about three
layers of the stuff, the idea is to get a jagged edged hole around the
damage.
3. Put on oven mitt. Put the kettle
on. As the steam whooshes out when the kettle boils, poke the injured
nose into the steam at least two or three inches from the spout. Hold it
there for five seconds, remove to check to see if resin has popped back
to shape, repeat as needed or until you're not getting any more result.
That's the dings and dents solved. As for the blushing of the nose.
PART two!
1.
Remove plastic wrap. Replace with a paper towel, and again tear to
expose the nose. This masks off the rest of the face but leaves a soft
edge around the nose.
2. Get a melamine
sponge, of the mister clean or other type brand. Now what you do with
that is DO NOT wet it, but using it dry, treat it like it's a sanding
block and gently sand away the damaged blushing, going lighter at the
edges of the damaged area. This prevents any sharp edges between blushed
and non blushed areas. You'll see as you go that you can "erase" the
color in the damaged spot and create a soft airbrushy edge or fading of
color from that spot, if that makes sense.
3. Wearing proper respiration protection and under proper conditions,
this is when you hit the almost-totally-covered face with a puff of
sealant. Our ragged hole paper towel masking technique is what lets this
work.
4. Mix a color match for the
other blushing visible around the nose, as carefully as you can, using
quality pastels. Then blush back the color onto the now sealed nose with
a very fine soft brush. Using the best brush you can really makes a
difference here for layering on very tiny amounts of color at a time so
as to get a smooth match.
5. Seal again, remove the paper towel, admire the flawless repair, and never trust a dolly not to nosedive.